
Leather Patch Size Guide
Choose leather patch size from the usable placement area, logo detail and total patch thickness. Measure the garment, reserve an attachment margin and test a full-size paper outline. The placement table below identifies what to measure without presenting unverified dimensions as production standards.
On this page · 12 sections
- Leather Patch Size by Placement
- How Logo Detail Affects Minimum Size
- How Text Size Affects Patch Size
- Rectangular vs Round Patch Sizing
- Custom Shapes
- Size and Leather Thickness
- Size and Embossing / Debossing
- How to Measure the Placement Area
- Common Sizing Mistakes
- Printable / Visual Size Reference
- FAQs
- Turn the details into a clear specification
Leather Patch Size by Placement
Patch size should fit the actual panel and leave the garment functional. Cap fronts, cuffs, waistbands and bag panels each impose different limits. Record width and height in millimetres, or clearly state inches; one inch equals 25.4 millimetres.
| Placement | Main constraint | Practical design check |
|---|---|---|
| Cap front | Curvature and panel seams | Test a flexible outline on the crown |
| Beanie cuff | Knit stretch and cuff height | Check the folded, worn position |
| Jean waistband | Belt loops and wash routine | Reserve a stitch border and inspect belt clearance |
| Jacket panel | Movement and lining access | Check both sides before attaching |
| Bag panel | Folds, pockets and abrasion | Test the filled shape and sewing access |
| Clothing label | Small detail and garment care | Keep essential branding readable |
Cap front
A cap front needs a patch that follows the crown without crowding the peak or panel seams. Test the outline on the actual cap model.
Beanie cuff
Measure the cuff in its folded, worn position. Check the knit under normal stretch so the patch does not become a rigid band.
Jean waistband
A jean waistband needs clearance for belt loops and a usable stitch margin. Check dye transfer and the garment wash process before choosing a label material.
Chest
Chest placement offers a visible compact branding area. Check pocket openings and folds, then test the outline while the garment is worn.
Sleeve
Sleeve placement needs a flexible shape that follows a narrow moving surface. Check the logo orientation with the arm relaxed and bent.
Bag
A bag patch should sit on a visible panel with suitable attachment access. Check the filled shape and avoid repeated folds or strap abrasion.
Jacket back
Back placement can accommodate a larger graphic but increases the effect of stiffness. Test movement with a full-size outline before approving material.
How Logo Detail Affects Minimum Size
Logo detail sets a practical lower size limit because small lines and gaps shrink together. Enlarging the patch can help, but may exceed the placement area. Simplifying secondary details often preserves recognition more effectively than squeezing the entire original design into a small label.
How Text Size Affects Patch Size
Text size affects readability through letter height, weight, spacing and contrast. A nominal font size alone does not define a producible leather impression. Review outlined text at the final physical size and ask for the selected finish’s capability.
Rectangular vs Round Patch Sizing
Rectangular patches are described by width and height; round patches are usually described by diameter. A circle inside the same bounding box provides less usable area at its corners. Fit the artwork to the actual outline rather than just its largest measurements.
Custom Shapes
Custom shapes need a clear cut contour with enough material around narrow sections. Sharp points and tight notches can complicate attachment and wear. Check the stitch route as part of the outline before approving an unusual silhouette.
Size and Leather Thickness
Size and thickness work together: a broad rigid patch can resist bending more noticeably than a small flexible label. Assess the full backing stack on the receiving product. Increasing artwork area should not create an uncomfortable or unsupported panel.
Size and Embossing / Debossing
Pressed finishes need space for both the mark and its surrounding relief. Small gaps can lose clarity even when the overall patch fits. Set the design scale against the chosen material and tooling rather than treating width alone as a complete specification.
How to Measure the Placement Area
Measure the clear area between seams, folds, edges and functional parts. Make a paper template in the proposed outline and place it on the item in use. Record the usable dimensions separately from the patch dimensions so the intended margin is clear.
- Measure the clear placement width and height.
- Mark seams, folds, openings and belt paths.
- Draw the patch outline with an attachment margin.
- Test the paper template with the product in use.
- Record dimensions and units in the artwork brief.
Common Sizing Mistakes
Common errors include measuring an empty cap flat, forgetting a stitch border, treating a circle like a square and checking artwork only enlarged on screen. Test the template on the real product and confirm the smallest required detail before approving.
Printable / Visual Size Reference
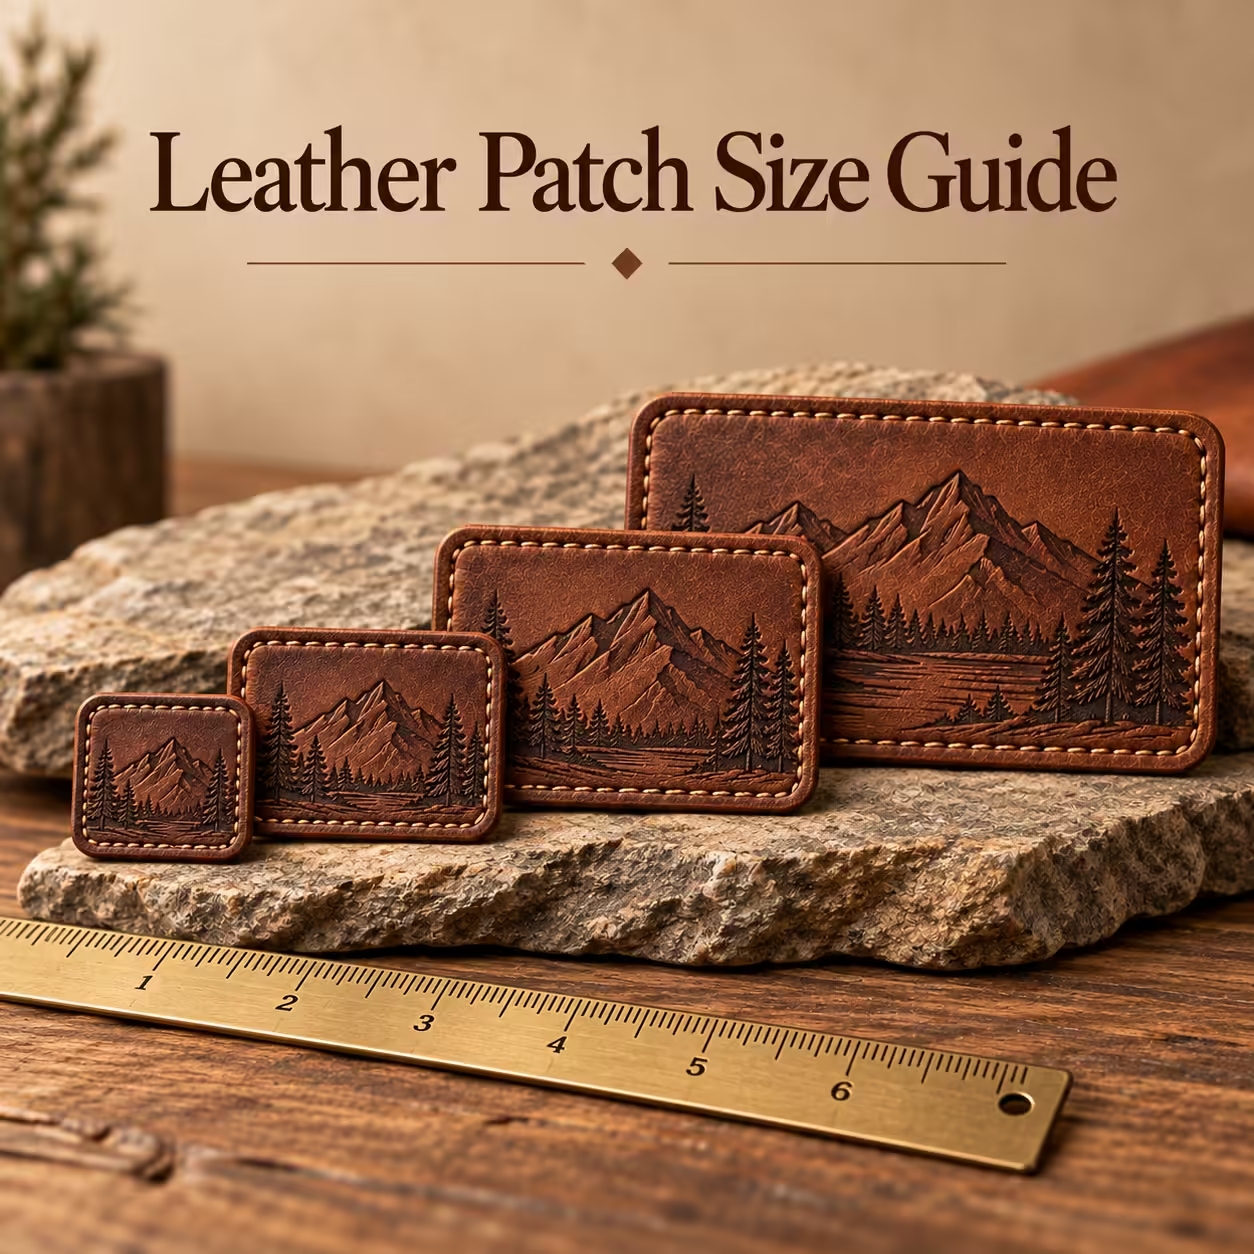
Create a full-size reference by drawing the proposed outline with labelled width and height, then printing at 100 percent scale. Measure the print with a ruler to verify it. The diagram below explains the dimensions; its on-screen display is not a physical measuring standard.
FAQs
Do I measure artwork size or patch size?
Record both where useful. Overall dimensions include the outline and attachment margin, not just the logo.
How do I convert inches to millimetres?
Multiply inches by 25.4 and state the units clearly in the specification.
Is an on-screen diagram actual size?
No. Display scaling varies. Print a dimensioned template at 100 percent and verify it with a ruler.
Turn the details into a clear specification
Send your logo, dimensions and quantity with the design or application choices discussed above. Include the receiving product and any wash or delivery requirements so the quotation can address your intended use.