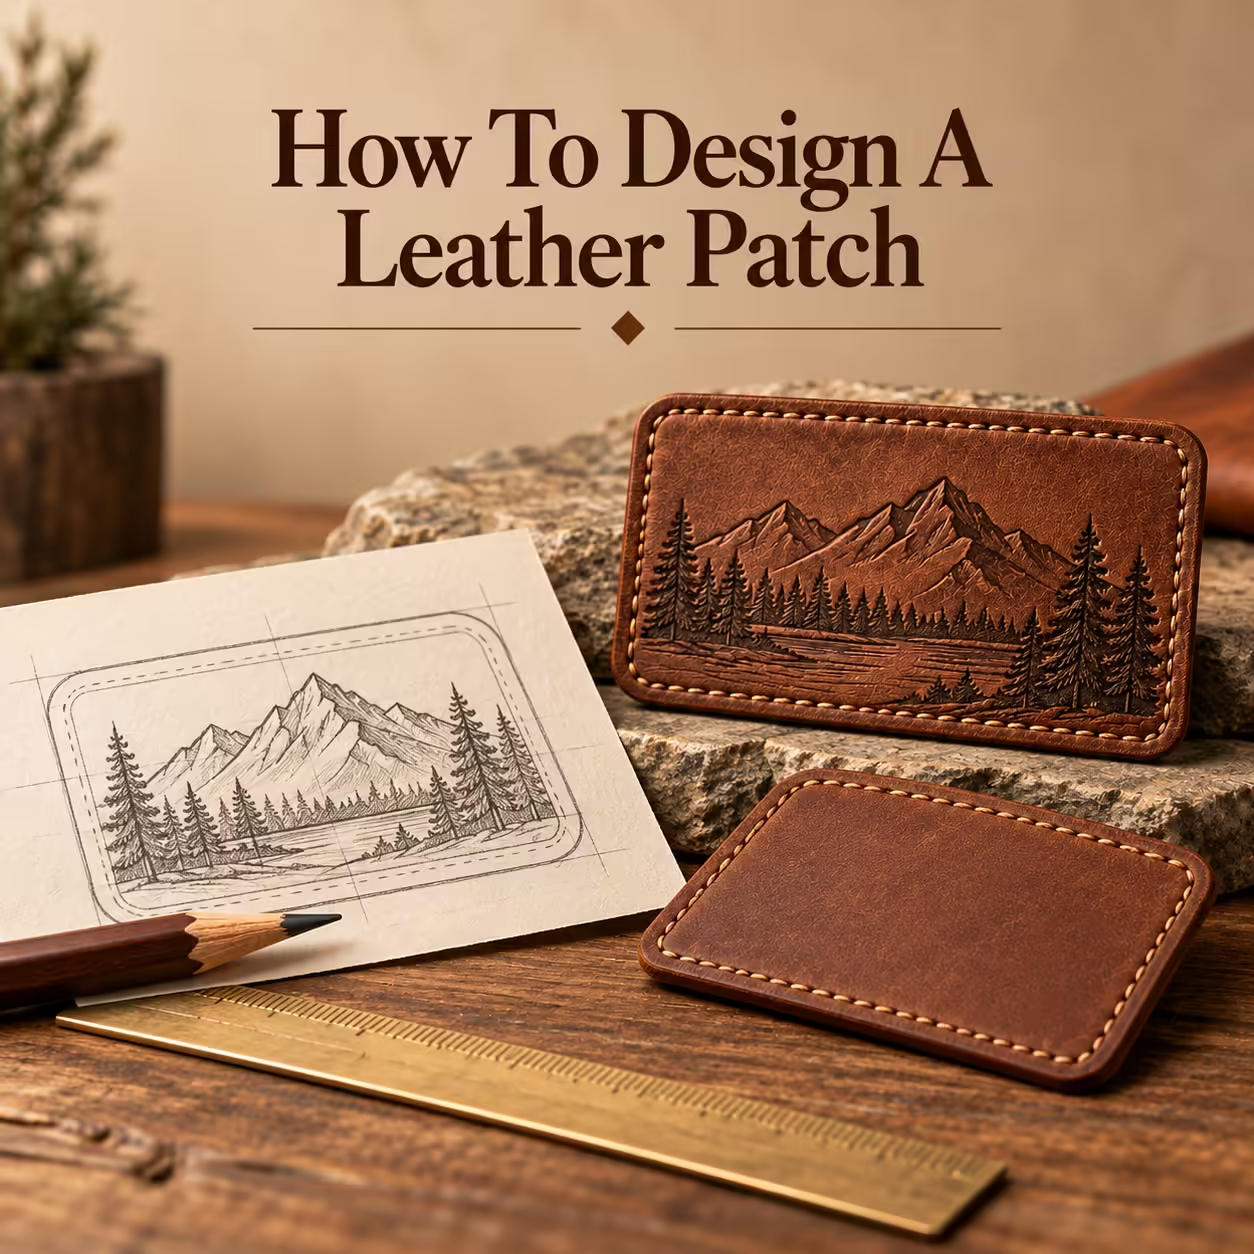
How to Design a Leather Patch
Design a leather patch by choosing its application, size, shape, material, finish, colour and backing, then preparing artwork and checking the proof. Each choice affects the next: the garment limits the dimensions, and the dimensions limit how much logo detail can remain.
On this page · 14 sections
- 1. Choose Where the Patch Will Be Used
- 2. Choose the Patch Size
- 3. Choose the Shape
- 4. Simplify the Logo
- 5. Choose Genuine or Faux Leather
- 6. Choose Debossed, Embossed, Engraved or Printed
- 7. Choose Leather and Ink Colours
- 8. Choose the Backing
- 9. Prepare the Artwork File
- 10. Review the Digital Proof
- Common Design Mistakes
- Examples by Application
- FAQs
- Turn the details into a clear specification
1. Choose Where the Patch Will Be Used
Choose the product and placement first. A cap front, waistband, knitted cuff and bag panel differ in movement, visibility and care. Photograph or measure the actual area so the design brief starts with a physical constraint rather than an arbitrary outline.
2. Choose the Patch Size
Choose a size that fits the placement with room for attachment. Test a paper template on the product in its normal shape. If small text cannot fit legibly, simplify the artwork before increasing the patch beyond the usable area.
3. Choose the Shape
Choose a shape that supports the logo and provides a practical edge. Rectangles favour wordmarks, circles can frame symbols, and custom outlines need robust narrow sections. Include the stitch route in the shape decision rather than adding it afterwards.
4. Simplify the Logo
Simplify the logo by retaining the elements that make it recognisable. Remove tiny flourishes, merge unnecessary fine details and open tight gaps. Keep a record of approved changes so the patch version remains consistent across products.
5. Choose Genuine or Faux Leather
Choose genuine leather for the desired natural surface, or a suitable faux leather for a manufactured face or animal-free brief. Confirm the exact composition and care properties. The material should also accept the decoration you plan to use.
6. Choose Debossed, Embossed, Engraved or Printed
Choose the finish by the information the artwork must preserve. Debossing adds a recess, embossing adds relief, engraving creates a detailed surface mark, and printing carries colour imagery. Review material and finish together rather than selecting each from unrelated examples.
7. Choose Leather and Ink Colours
Choose the leather shade and any ink colours as one contrast system. A logo that looks clear on white may disappear on a dark leather face. Use physical references where colour relationships are important and allow for natural variation where relevant.
8. Choose the Backing
Choose backing around permanence, garment access and care. Sewing needs a stitch margin; hook-and-loop needs a receiving panel; heat-seal needs a qualified material combination. An attachment decision can change the visible border and total thickness.
9. Prepare the Artwork File
Prepare clean artwork with dimensions, a cut contour and clearly identified decoration. Convert required text to outlines and separate functional guide lines from the logo. Supply original files rather than screenshots whenever possible.
10. Review the Digital Proof
Review the digital proof against the full specification, not just the central logo. Check spelling, orientation, size, shade reference, backing and variant quantities. Approve a clearly identified revision so later changes are not mistaken for the production file.
Common Design Mistakes
Common mistakes include starting with an oversized logo, selecting incompatible care requirements and hiding detail inside the stitch margin. Resolve these constraints before ordering. A simpler patch that fits the product is often more effective than a complex emblem with compromised detail.
Examples by Application
Application examples show how the same brand can use different patch specifications. A cap may need a compact mark, a jean label a low rectangle, and a bag a more structured emblem. Keep the brand identity consistent while adapting the physical construction.
FAQs
Should I choose the finish before the product?
Start with the application and placement. Those constraints help establish size and material before final finish selection.
Can I use my full brand artwork unchanged?
Sometimes, but small lettering or fine ornament may need simplification at patch size. Approve any adaptation explicitly.
Does proof approval confirm washing performance?
No. Layout approval and physical performance are separate questions.
Turn the details into a clear specification
Send your logo, dimensions and quantity with the design or application choices discussed above. Include the receiving product and any wash or delivery requirements so the quotation can address your intended use.