
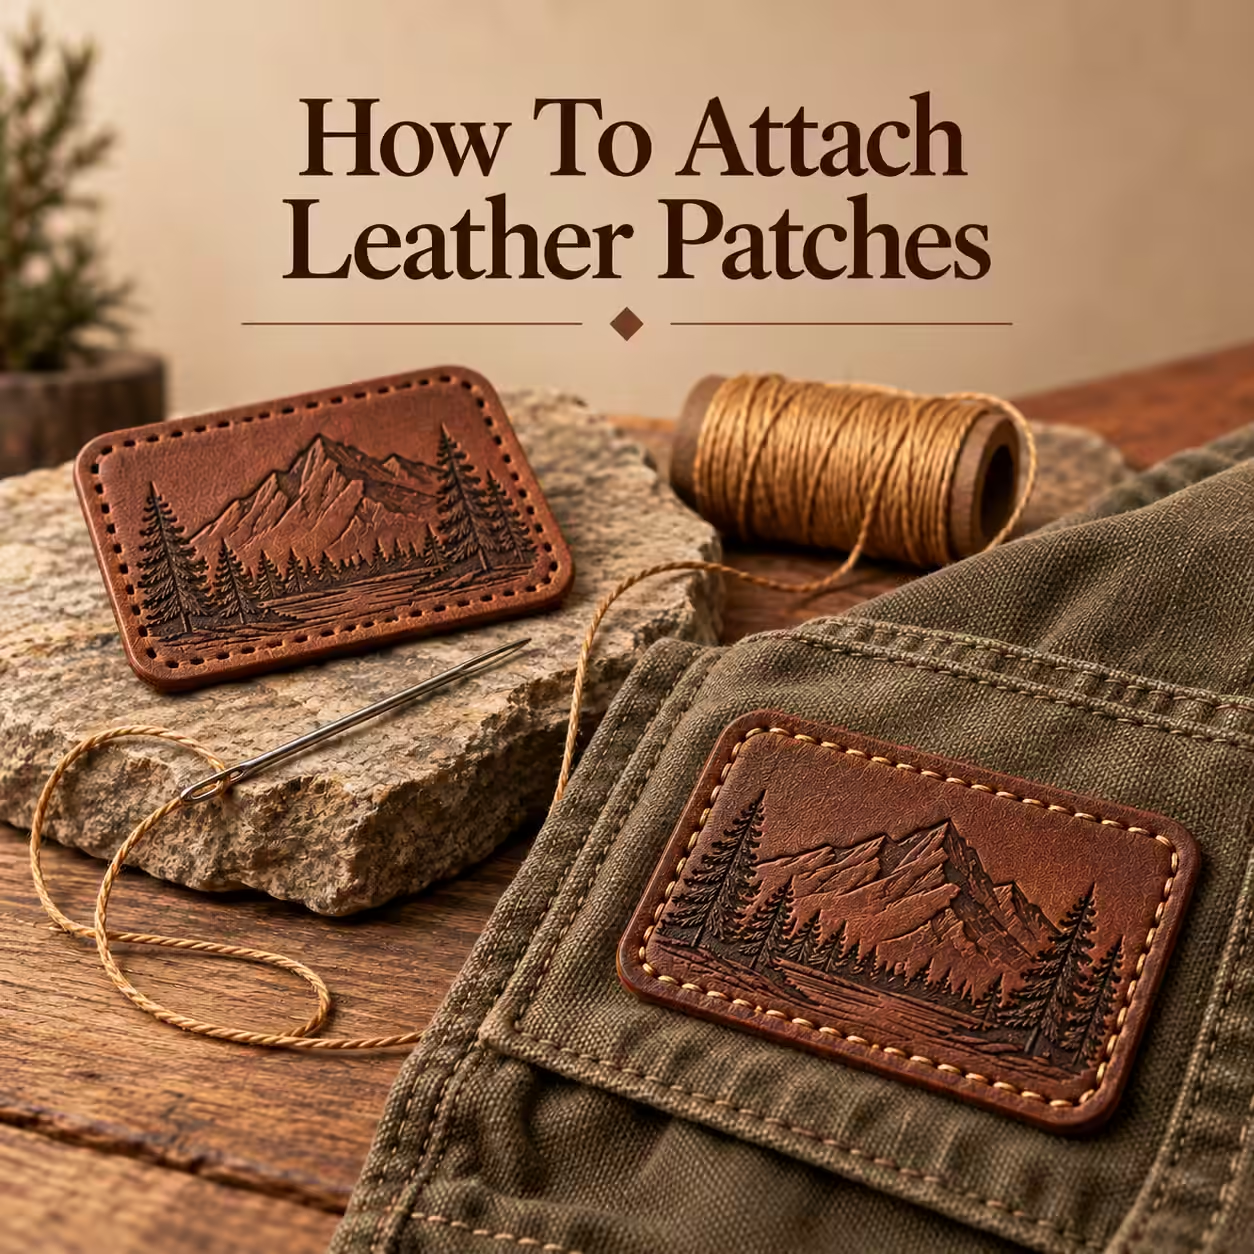
How to Attach Leather Patches
Attach leather patches by matching the backing to the leather and garment. Sew suitable patches for a lasting mechanical seam, heat-apply only a qualified construction, use adhesive on compatible surfaces, or fasten a hook-backed patch to a secured loop panel.
On this page · 12 sections
- Choose the Correct Attachment Method
- How to Sew On a Leather Patch
- How to Heat-Apply a Leather Patch
- How to Apply an Adhesive Leather Patch
- How to Use Hook-and-Loop Patches
- How to Attach Leather Patches to Hats
- How to Attach Leather Patches to Denim
- How to Attach Leather Patches to Jackets
- How to Attach Leather Patches to Bags
- Common Attachment Mistakes
- FAQs
- Turn the details into a clear specification
Choose the Correct Attachment Method
Choose attachment by identifying the patch substrate, backing and receiving surface. Sewing needs access and appropriate tools; heat-seal needs verified compatibility; pressure-sensitive adhesive needs a suitable contact surface; hook-and-loop needs both fastening sides. Decide before modifying the product.
How to Sew On a Leather Patch
To sew a patch, position it on the supported garment, secure it without unwanted holes, and stitch around a planned margin. Keep the receiving layers accessible and avoid pulling the material out of shape. Finish the thread securely and inspect both sides.
- Check the patch, garment and sewing access.
- Position and secure the patch without unwanted holes.
- Test needle, thread and tension on representative layers.
- Sew the reserved perimeter without trapping hidden layers.
- Finish the thread and inspect both sides.
Tools
Use tools appropriate to the combined patch and garment layers. Check access, support and manufacturer guidance before selecting a needle or application device.
Placement
Place the patch clear of seams, openings and moving folds. Check the product in its normal shape before making a permanent attachment.
Stitching
Stitch through the intended layers along a reserved margin. Support the fabric without stretching it and inspect the reverse for loose loops.
How to Heat-Apply a Leather Patch
Heat-apply a patch only with the instructions for its exact construction. Confirm the garment compatibility, prepare the appropriate press support, follow the specified application and allow the stated cooling period. Do not substitute generic temperatures or repeatedly reheat an uncertain bond.
- Identify the approved patch and garment combination.
- Prepare the specified equipment and support.
- Apply only the supplied temperature, pressure and time.
- Follow the cooling and handling instructions.
- Inspect the bond as instructed before use.
Material compatibility
Compatibility must cover the patch face, backing and receiving product. Approval for one layer alone does not establish a suitable completed construction.
Heat press
Use equipment and support suited to the specified application. Controlled contact matters on curved panels as well as flat garments.
Cooling
Follow the specified cooling procedure before testing or handling the bond. Immediate pulling or flexing can give a misleading assessment of attachment.
How to Apply an Adhesive Leather Patch
Apply an adhesive patch to a clean, dry, compatible surface according to the adhesive guidance. Test for marks or residue where removal matters. Align before pressing, then respect any settling period; do not assume the result is suitable for laundering.
- Confirm that the adhesive suits the receiving surface.
- Prepare the surface according to its instructions.
- Align the emblem and remove the release liner.
- Apply the specified pressure and respect any settling period.
How to Use Hook-and-Loop Patches
Use hook-and-loop by fixing a compatible loop panel to the product and aligning the hook-backed emblem over it. Press the surfaces together across the whole area. Check the border for secure engagement and keep exposed hooks away from delicate fabric.
- Secure the compatible loop panel to the product.
- Align the hook-backed emblem over the loop field.
- Press across the full patch and inspect the edges.
How to Attach Leather Patches to Hats
Hat attachment needs support that retains the crown’s shape. Check the peak, centre seam and sweatband before setting the position. Sewing and approved heat application have different access requirements, so consult the hat-specific guide once the method is chosen.
How to Attach Leather Patches to Denim
Denim attachment should avoid belt loops and unintended layers. Position the patch on the finished waistband or panel and preserve a clear stitch route. Consider indigo transfer and the planned wash routine when assessing the complete patch-and-denim combination.
How to Attach Leather Patches to Jackets
Jacket attachment must account for linings, pockets and any specialised fabric. A chest or sleeve patch should move comfortably with the garment. Follow the garment maker’s guidance before puncturing or heating coated or protective outerwear.
How to Attach Leather Patches to Bags
Bag attachment works best when access is planned around assembly. A logo over a pocket may require sewing before the liner is closed. Check the filled bag shape and avoid positions that fold tightly or rub against straps.
Common Attachment Mistakes
Common mistakes include ignoring care compatibility, stitching through hidden layers, crowding the patch edge and using heat without instructions. Check the material stack and placement before beginning. A small trial on representative materials can reveal problems before the finished item is altered.
FAQs
Can I glue an unspecified patch onto fabric?
Do not assume a general adhesive suits both materials or washing. Select a qualified attachment system.
Which method allows regular removal?
Hook-and-loop provides repeated separation from a secured loop panel.
Should I test attachment first?
Yes, a representative trial helps check fit and application. It does not replace supplied compatibility or care instructions.
Turn the details into a clear specification
Send your logo, dimensions and quantity with the design or application choices discussed above. Include the receiving product and any wash or delivery requirements so the quotation can address your intended use.