
Sew-On Leather Patches
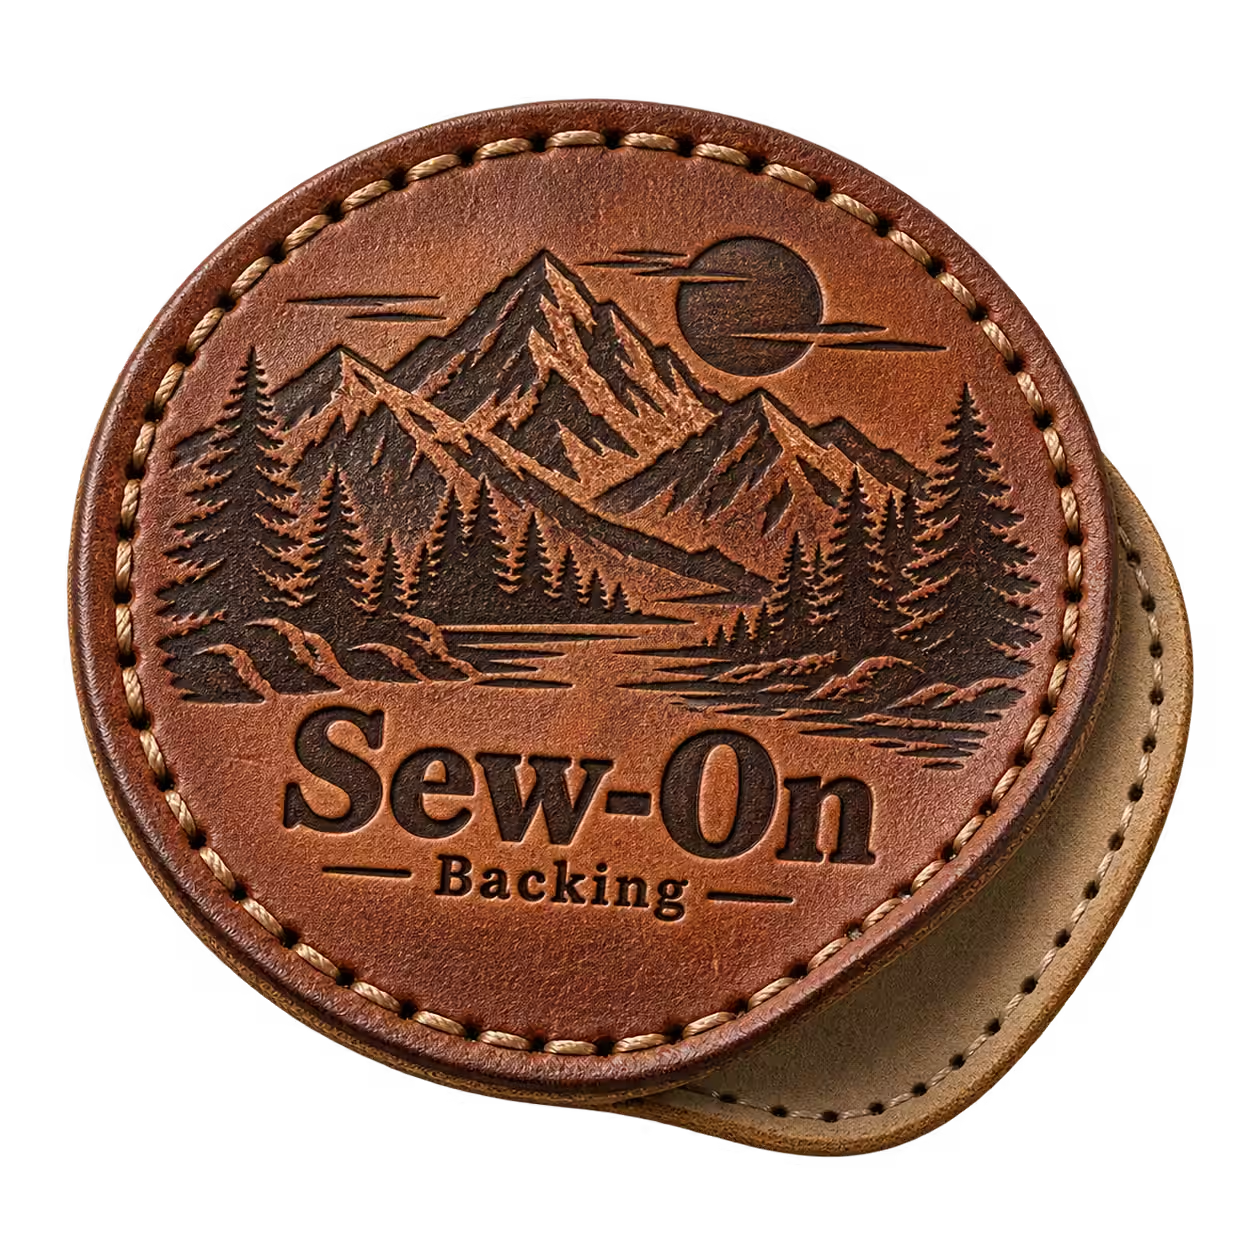
Sew-on leather patches attach to a garment with stitches around a planned border or perimeter. Sewing creates a lasting mechanical connection without adhesive activation heat, making it useful for genuine leather and compatible faux leather on caps, denim, bags and workwear.
On this page · 12 sections
- What Are Sew-On Leather Patches?
- Why Sewing Works Best for Genuine Leather
- Patch Edge and Stitch Placement
- Needles and Thread
- Sewing Leather Patches on Hats
- Sewing Leather Patches on Denim
- Sewing Leather Patches on Workwear
- Hand Sewing vs Machine Sewing
- Durability
- Can Sew-On Patches Be Removed?
- FAQs
- Turn the details into a clear specification
What Are Sew-On Leather Patches?
A sew-on leather patch is designed to be fixed with thread through the patch and receiving material. It may have a plain edge or a specified stitch guide. Confirm whether holes or guides are supplied rather than assuming every patch is pre-punched.
Why Sewing Works Best for Genuine Leather
Sewing is useful for genuine leather because attachment does not depend on heating a glue layer. It still requires an appropriate needle, thread and stitch position. A secure seam and suitable patch care solve different parts of the durability question.
Patch Edge and Stitch Placement
Stitches need enough material outside the seam to avoid tearing through the edge. Keep the logo inside a separate clear margin. The correct spacing follows thickness, hole size and construction, so confirm it on a representative sample.
Needles and Thread
Needles and thread must suit the leather, backing and garment together. A needle appropriate for leather alone may damage a fine knit. Follow the machine or needle manufacturer’s guidance and test the combined layers before sewing the finished product.
Sewing Leather Patches on Hats
Hat sewing requires access behind a curved panel. Support the crown, keep the sweatband clear and secure the patch without flattening the cap. The dedicated hat guide explains placement, stitch routing and common problems.
Sewing Leather Patches on Denim
Denim sewing needs care around waistband layers and belt loops. A clear perimeter seam can secure the logo label while leaving the garment functional. Check that the needle passes through the intended layers rather than an unseen pocket or lining.
Sewing Leather Patches on Workwear
Workwear sewing should use a placement and construction compatible with the garment. A patch seam must not compromise specialist protective features. Confirm the cleaning requirements too, because sewing alone does not establish industrial-wash suitability.
Hand Sewing vs Machine Sewing
Hand sewing offers control over small curved jobs, while a suitable machine can make repeated seams more consistent. Machine access and capability matter more than speed. For either method, test stitch formation and tension before committing the final patch.
Durability
Sew-on durability depends on thread, edge margin, stitch formation and the receiving fabric. Inspect loose loops, pulled edges or skipped stitches after attachment. The leather surface still needs its own care even when the seam remains intact.
Can Sew-On Patches Be Removed?
Yes, sew-on patches can be removed by carefully unpicking the thread. Needle holes may remain in both patch and garment, so removal is not equivalent to reversible daily attachment. Choose hook-and-loop when regular swapping is the intended use.
FAQs
Are sew-on patches pre-punched?
Not necessarily. Confirm whether holes, a stitch guide or a plain border are supplied.
Can sewing holes be removed later?
No. Unpicking thread can leave permanent holes in leather and marks in the garment.
Can a domestic machine sew every leather patch?
No. Check the machine’s capability and the combined material stack before sewing.
Turn the details into a clear specification
Send your logo, dimensions and quantity with the attachment choices discussed above. Include the receiving product and any wash or delivery requirements so the quotation can address your intended use.