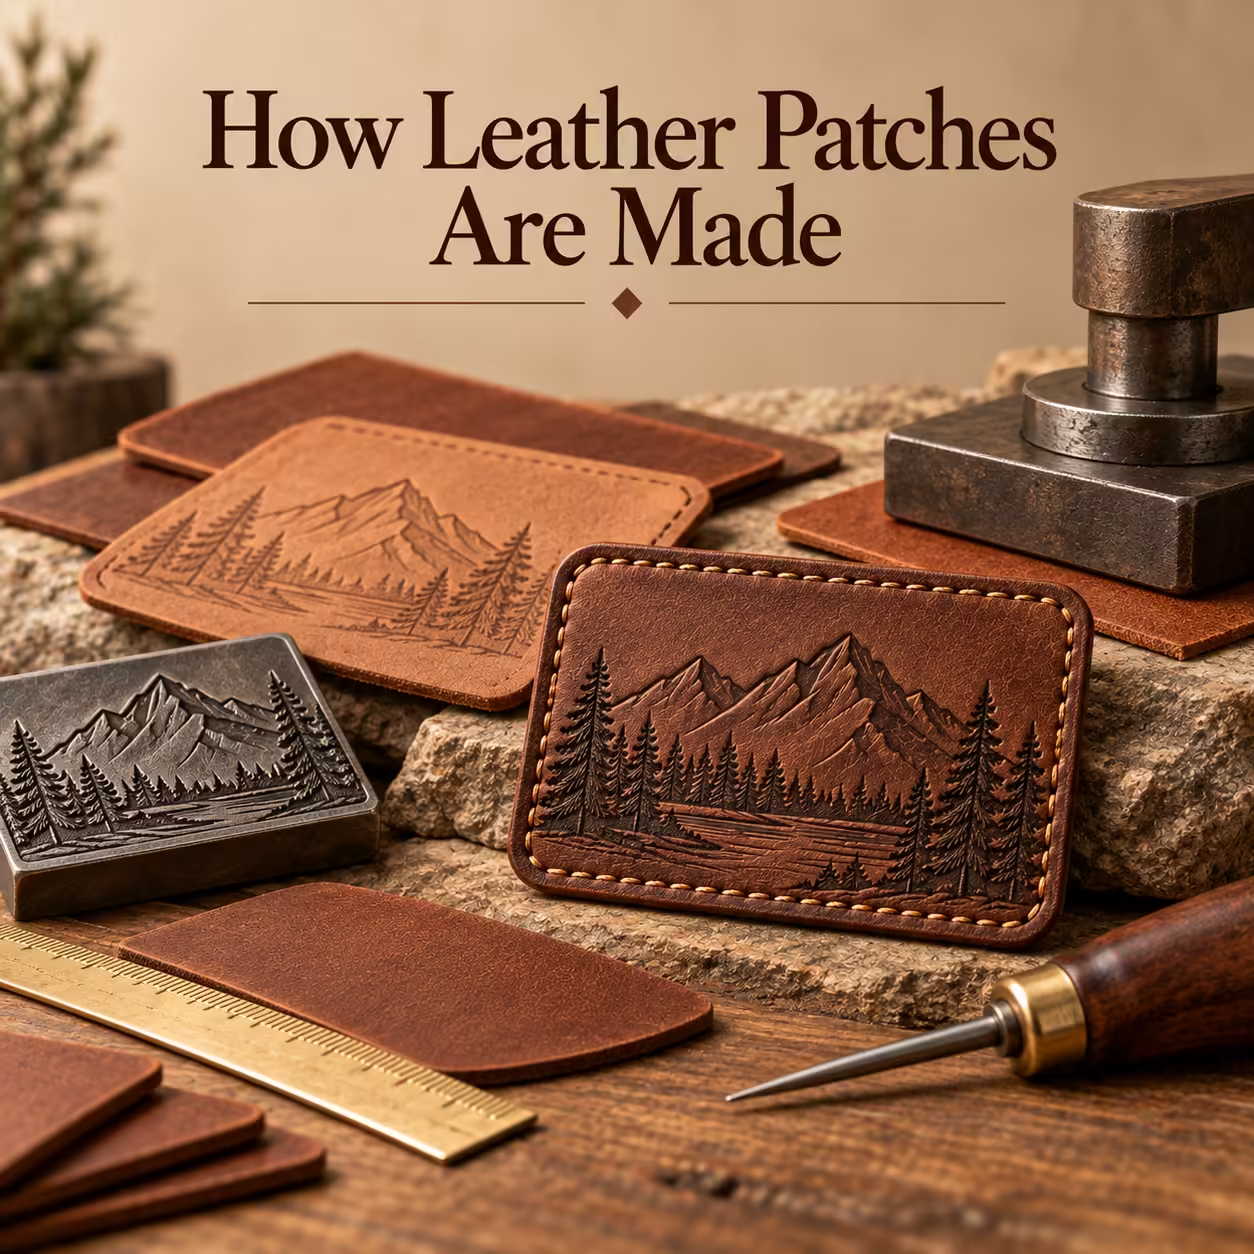
How Leather Patches Are Made
Leather patches are made by preparing artwork and a proof, selecting material, cutting and decorating the substrate, adding any colour and backing, then inspecting and packing the result. The production route changes with the finish; this guide explains the general sequence rather than claiming a particular in-house factory process.
On this page · 13 sections
- 1. Artwork Is Supplied
- 2. A Digital Proof Is Prepared
- 3. The Leather Material Is Selected
- 4. Tooling or Laser Files Are Prepared
- 5. The Leather Is Cut
- 6. The Design Is Debossed, Embossed, Engraved or Printed
- 7. Colour Is Added Where Required
- 8. Backing Is Applied
- 9. Quality Control
- 10. Packing and Dispatch
- How Production Changes by Patch Type
- FAQs
- Turn the details into a clear specification
1. Artwork Is Supplied
Artwork supplies the shape and logo that production will reproduce. A usable brief also identifies dimensions, material, finish and backing. Missing specifications can change the process, so resolve them before creating tooling or machine files.
2. A Digital Proof Is Prepared
A digital proof records the intended appearance and dimensions. It should distinguish the cut contour, logo and attachment area. Screen artwork can confirm layout, but it cannot demonstrate the exact feel, impression depth or physical colour of leather.
3. The Leather Material Is Selected
Material selection establishes grain, thickness, flexibility and colour. Those properties influence decoration and attachment. Confirm the stock reference and suitability for the intended process before cutting a run, especially when repeat orders need a consistent appearance.
4. Tooling or Laser Files Are Prepared
Pressed designs require appropriate tooling; engraved designs require prepared digital paths; printed designs require a suitable image file and print setup. The preparation follows the method. Separate artwork paths from cutting contours to avoid unintended marks.
5. The Leather Is Cut
Cutting forms the patch outline from the selected sheet or hide. The method and timing vary with material and decoration; some workflows decorate before cutting. The finished edge must preserve the intended shape and leave enough area for attachment.
6. The Design Is Debossed, Embossed, Engraved or Printed
Decoration creates the logo: debossing recesses it, embossing raises it, engraving alters the surface, and printing adds ink. These methods produce different physical results. The selected stock and artwork determine which process is suitable.
7. Colour Is Added Where Required
Colour is added when the design requires ink, print or filled recesses. The colour system must be compatible with the face and any subsequent processing. Allow the required finishing or curing stage before handling the decorated area as a finished patch.
8. Backing Is Applied
Backing adds the chosen attachment construction, such as adhesive or hook-and-loop, where required. Sew-on patches instead need a suitable stitching area. The reverse layer changes total thickness and can affect how the patch conforms to a product.
9. Quality Control
Quality checks should compare the finished patch with the approved specification. Relevant attributes include dimensions, outline, readable detail, colour reference and backing. Inspection criteria and acceptable variation should be agreed for the actual order.
10. Packing and Dispatch
Packing protects the patches and keeps variants identifiable. Design, colour or size groups may need separate labels so they reach the correct garment batch. Dispatch arrangements should follow the confirmed address and delivery service.
How Production Changes by Patch Type
Production changes with the decoration and material rather than following one identical machine sequence. Pressed finishes involve tooling; engraving follows digital paths; printing requires compatible colour reproduction. Compare these routes when considering proof changes, samples or repeat-order setup.
FAQs
Is the patch always cut before decoration?
No. The sequence can vary with material and method. The guide describes the main stages rather than a mandatory machine order.
Does every finish require a logo die?
No. Pressed finishes use tooling, while engraving follows digital artwork and printing has its own setup.
Does a digital proof prove the physical finish?
No. It confirms the proposed layout; material feel and finish appearance need a relevant physical reference.
Turn the details into a clear specification
Send your logo, dimensions and quantity with the design or application choices discussed above. Include the receiving product and any wash or delivery requirements so the quotation can address your intended use.